Setup guide
Quick Start Guide.
Follow this structured guide to complete account creation, plant setup, and subscription activation — covering everything you need to get Sunsynk Saver working in minutes.
Step 1 of 6
Create an Account
Open the Sunsynk Saver app and sign up with your email address. This is your gateway to managing and monitoring your energy system.

Open the app and tap Sign Up
Upon launch, you will be greeted with the sign-in screen. At the bottom of this screen, tap Sign Up.
Enter your details
You will be prompted to enter your details, including your name, email address, and a secure password. Once you have completed the form, tap Sign Up again.
Access your Plant List
You will then be directed to your personal Plant List, which will initially be empty. You are now ready to add your inverter plant.
Step 2 of 6
Create a Plant (United Kingdom)
Add your Sunsynk inverter system to your account. It is extremely important that all device and plant information is complete and accurate. Missing or incorrect information will affect the accuracy of AI predictions and financial performance.
Tap the Add (+) button
After signing in, arrive at your Plant List. To add a new plant, tap the Add (+) button, located to the right of the search bar.

Enter inverter information
Complete the inverter information section (Serial Number and Model). If you have multiple inverters in parallel, tap Add (+) and enter the details of your secondary inverter.
Enter data logger information
Complete the Data Logger information section (Serial Number, Key, and Type).
Enter battery information
Complete the battery information section (Type, Model, Quantity, and Serial Number).
Enter PV capacity
Complete the PV information section (Capacity). PV Capacity is the total amount of solar panels you have installed, expressed in Watts (W).

Enter plant information
Complete the plant information section (Plant Name, Commission Date, Country, Address, and Investment Amount).
Select your tariff
Complete the Rate Region information (GB Rate Type and Octopus Region). If you have a supported smart tariff such as Agile Octopus or Flux, select it and your region, and the system will automatically gather import and export prices. If not, use the Constant option (fixed rates) or enter time-of-use rates manually.
Enter grid information
Complete the grid information section (Grid Connected and Grid Mode).
Enter solar PV details
Complete the solar PV information section.
MPPT: Enter the number of solar panels connected to each MPPT string.
VOC / ISC / IMP: This data can be found on your solar panel datasheet.
Step 3 of 6
Create a Plant (South Africa)
The South Africa plant creation process follows the same structure as the UK process, with a few regional differences in tariff setup and location fields.
Enter inverter, logger, battery & PV details
Follow the same steps as the UK process for inverter information, data logger, battery details, and PV capacity.
Enter plant information
Complete the plant information section. The most important location field for South Africa is your City. The AI uses this to match your nearest weather station for accurate solar production predictions.
Enter tariff and Eskom area
Complete the Rate Region section. You will need to enter information to associate your plant with an Eskom area for load-shedding data. Enter your rates using either the Constant option (fixed rates) or time-of-use rates as applicable for your municipality or estate.
Enter grid and solar PV information
Complete grid connection details and solar PV panel information including MPPT strings and panel specifications (VOC, ISC, IMP, available on your panel datasheet).
Step 4 of 6
Access Your Pre-Populated Account
If your system has been automatically migrated from Sunsynk Connect, your account is ready to access. You will need to reset your password for security purposes.
Reset your password
If your system has been carried over automatically, open the Sunsynk Saver app and tap Forgot Password on the sign-in screen. Follow the process to set a new password.
Sign in and review your plants
When you sign in, you will see the plants previously connected to your account. Only supported inverters will have been migrated. For more information on compatibility, visit our FAQ page.
Complete missing information
When you open your plant for the first time, the app will ask for some missing information. This is essential for the new AI features to operate correctly. Fields may vary by region.
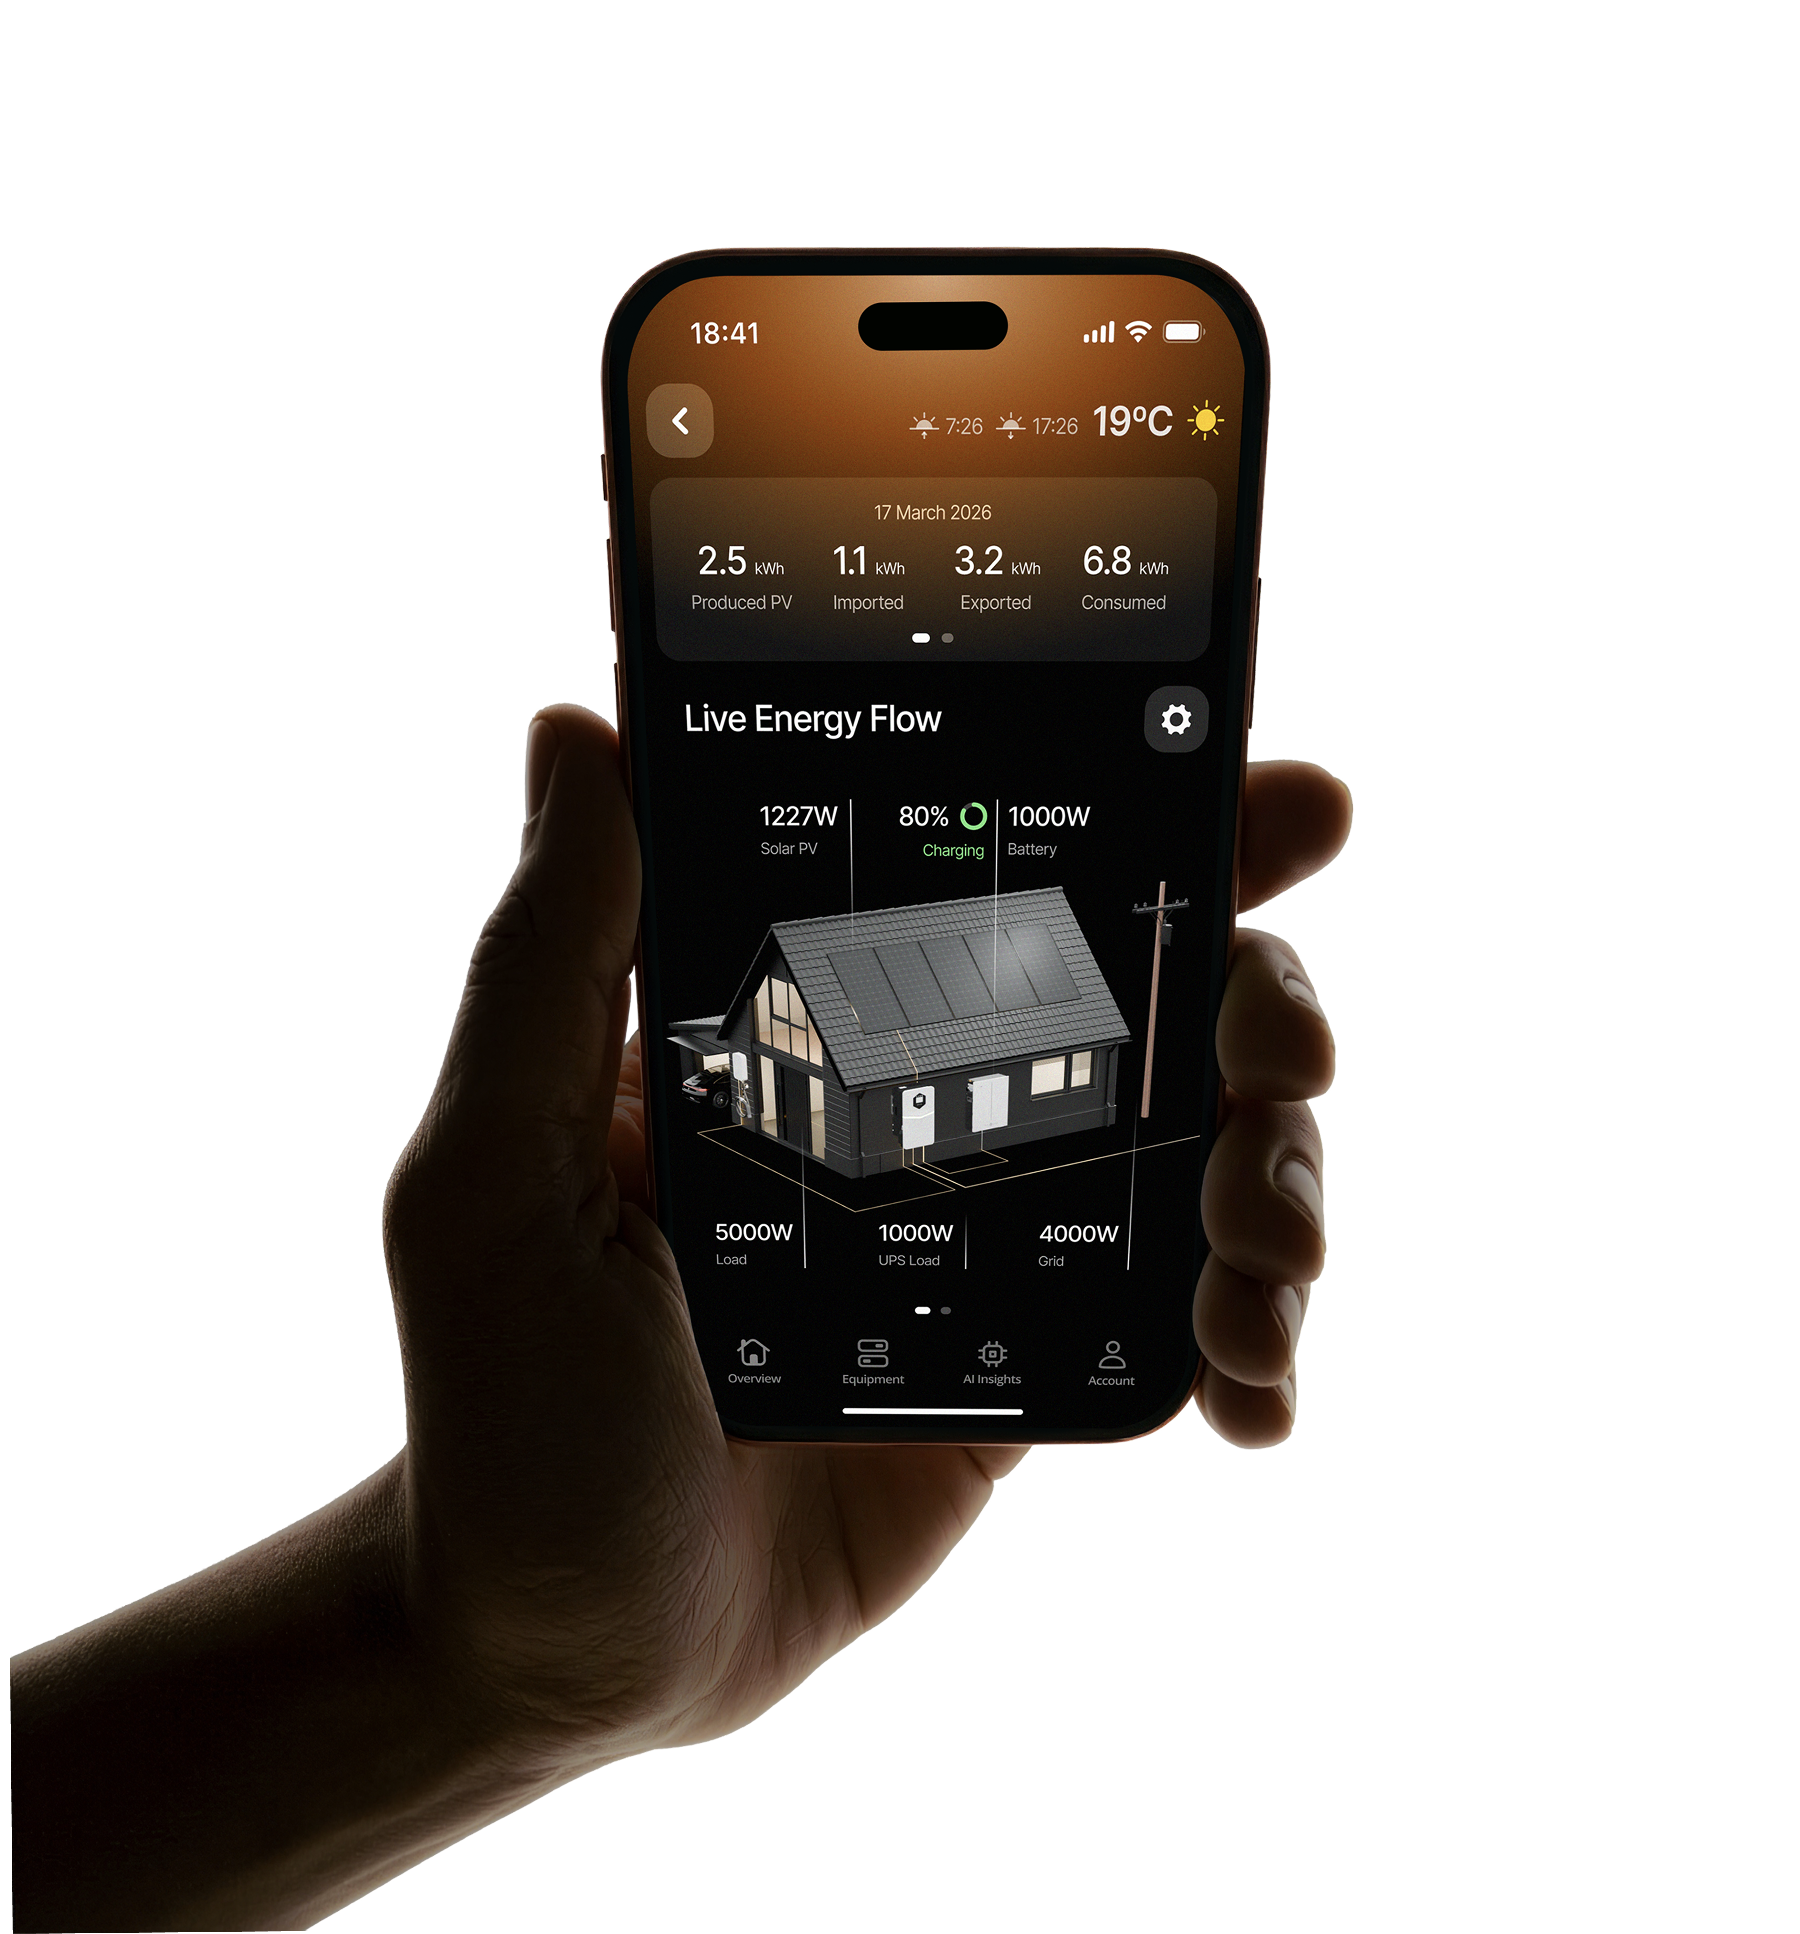
Access your Plant Overview
Once all required fields are completed, your Plant Overview will open and you can begin monitoring your energy system.
Step 5 of 6
Access Your Account if Not Pre-Populated
If your plant was not automatically migrated, you can still register quickly. The system will fetch most of your inverter information automatically once you enter your serial number.
Create an account or sign in
Open the Sunsynk Saver app and either sign in or tap Sign Up to create a new account.
Tap the Add (+) button
On your empty Plant List, tap the Add (+) button to the right of the search bar.
Enter your inverter serial number
Enter your inverter's serial number and select Done. The system will automatically fetch information from your inverter to populate most fields.
Complete missing fields
Complete any remaining fields. Fields may vary by region. Time/rate slot details must align with tariff details provided by your grid retailer.
Access your Plant Overview
Your Plant Overview will now open and you can begin using Sunsynk Saver.
Step 6 of 6
Start a Subscription
Unlock the full power of Conductify AI with the Optimised plan. The following steps use UK examples; currency denominations and prices vary by country.
Open the Subscriptions page
On your plant overview, you will see a tile showing Activate Now. Tap this to go to the Subscriptions page. You can also access it via the Subscriptions tab at the bottom of the screen.
Tap Start Free Trial
Tap Start Free Trial next to the plant you would like to activate the subscription for.
Complete the AI Setup Wizard
Follow the guided questions in the AI Setup Wizard. This configures the optimal AI operation mode, based on your tariff, usage, solar capacity, and battery setup.
Progress through setup
Continue through each step of the wizard. Each question helps the AI build an accurate picture of your home energy setup for the most precise optimisation.
Tap Upgrade Now
Once the wizard has configured the suitable AI operation mode, tap Upgrade Now to activate your free 30-day trial. After the trial, billing continues at your chosen plan price.
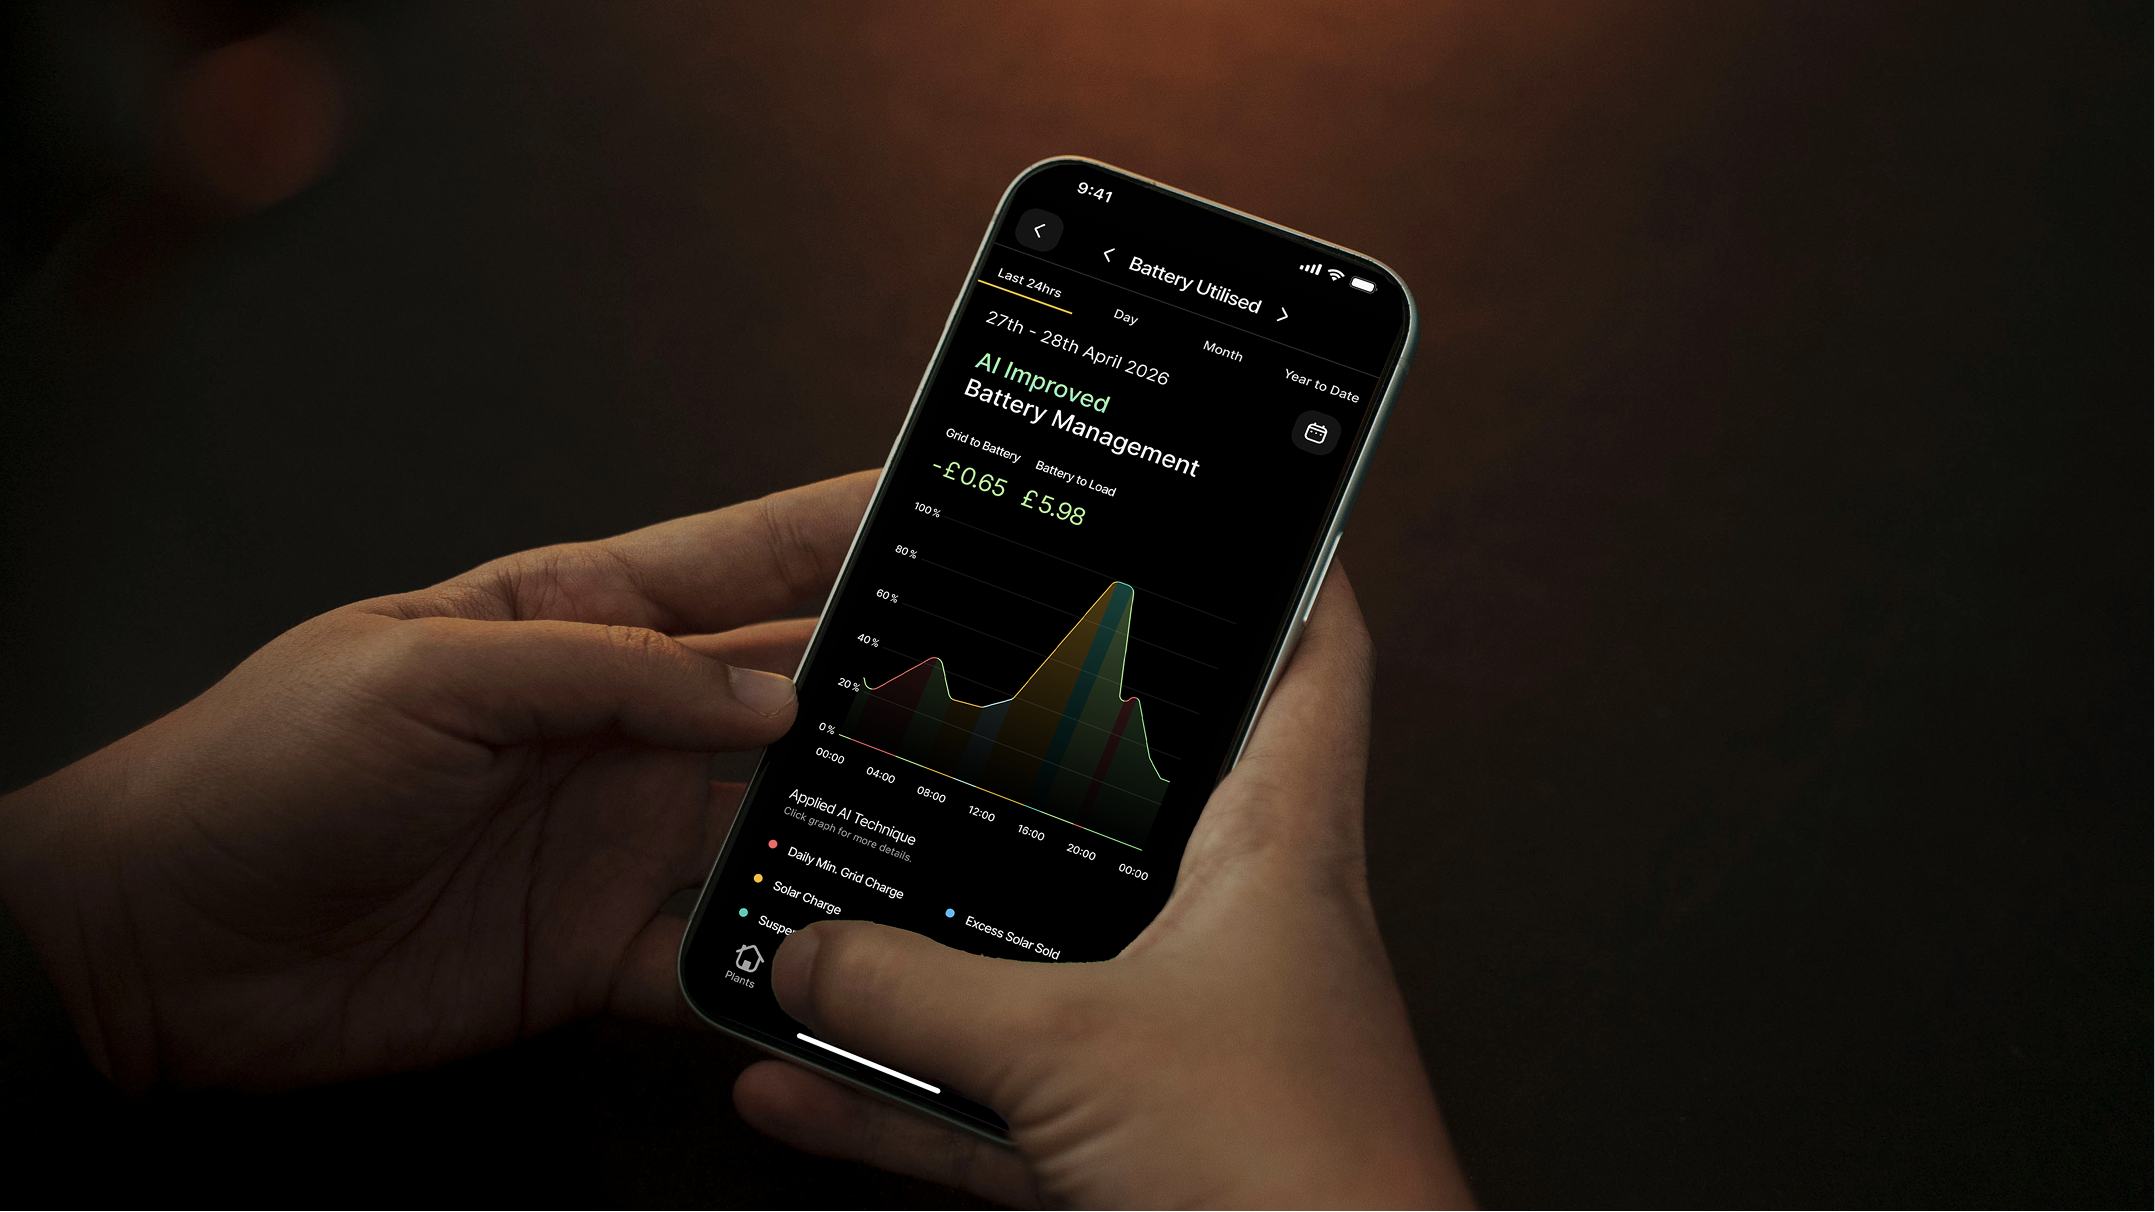
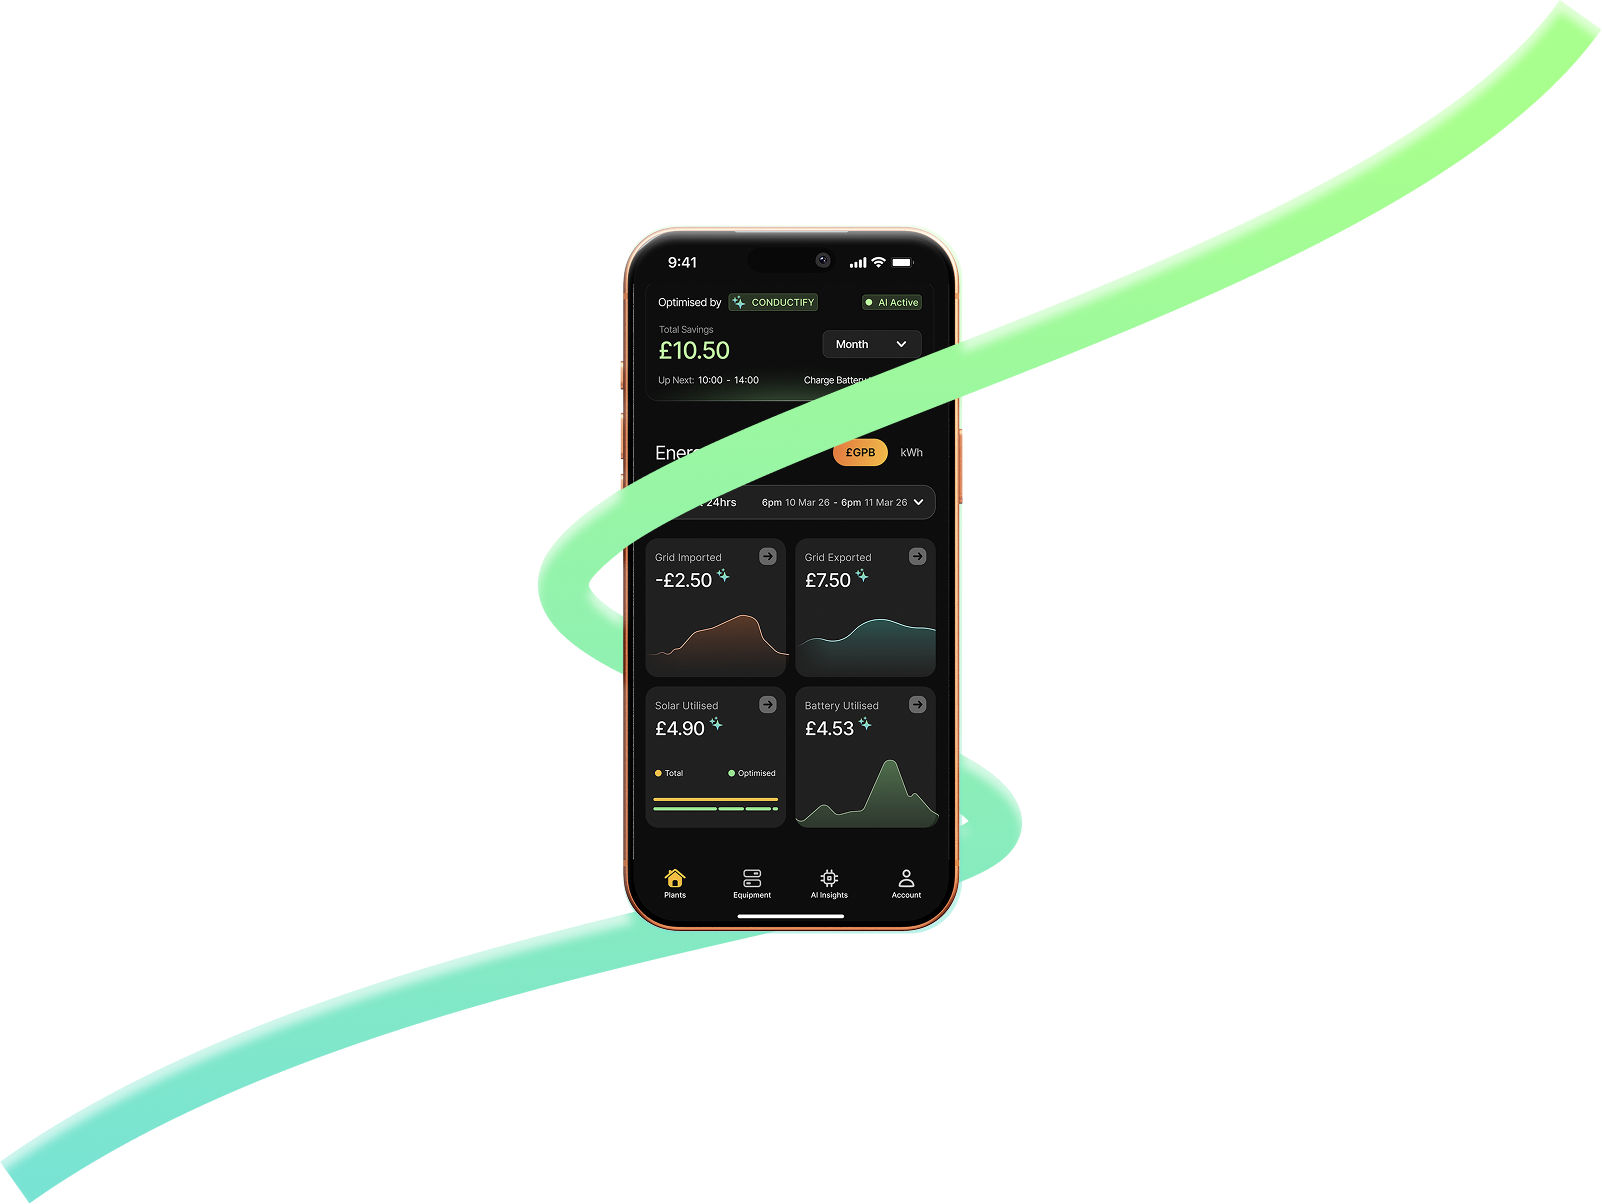
Subscription active: AI is now optimising
Your subscription is now active and Conductify AI will begin optimising your energy system immediately. You can monitor performance, savings, and AI decisions from your Plant Overview at any time.
Need more help?
User Manual
Our comprehensive user manual covers everything from setup to advanced features and troubleshooting.
View supportFrequently Asked Questions
Answers to the most common questions about subscriptions, compatibility, AI setup, and account migration.
Read FAQsPlans & Pricing
Compare the free Manual plan and the AI Optimised plan side by side, with full feature details.
View plansReady to start saving?
Download Sunsynk Saver and follow this guide to activate your AI Optimised plan, free for the first 30 days.